-
Login to the copier using your Copier ID Number or your Puget Sound username and password.
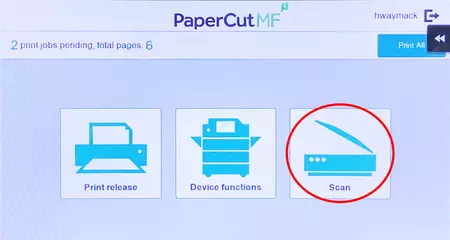
- Select Scan

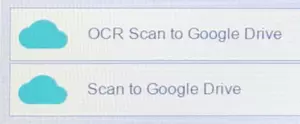
- Choose whether you want to scan with or without automatically applying OCR (scanning with OCR could taking longer to process.)

-
Place your document in the document feeder or lift the lid and place it on the copier glass.
-
Make any desired changes to your scan settings.
(Default settings: Color PDF, 1-sided, Letter, 300dpi) -
Press Start button.
-
All done! Your scan will be saved in your Puget Sound Google Drive.
-
Follow Steps 1-5 under Scan (Basic) above.
- Select Additional Pages.

-
Press Start to scan your first document.
-
Place your next page(s) into the document feeder or on the copier glass, and press Start.
(Repeat this step as-needed, until all your documents are scanned.) -
Press Finish when all your pages are scanned.
-
Press Start key on the copier to complete the scan.
-
All done!
-
Login into Google Drive using your Puget Sound login.
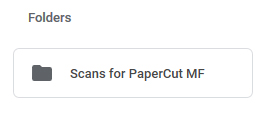
- Go to the folder titled "Scans for PaperCut MF". (this is located in your Google Drive Folders.)

-
Your scans will be located in this folder. Here, the scans can be renamed, moved, shared, downloaded, or deleted as needed.
NOTE: The first time you scan, you will also be asked for permission to grant PaperCut access to your Google Drive for the purpose of saving the file there. After you've completed your first scan, you will receive an email requesting that you login to Google to grant access. The Scans for PaperCut MF folder will not appear in your Google Drive until access has been granted.
